
Tip & Trick
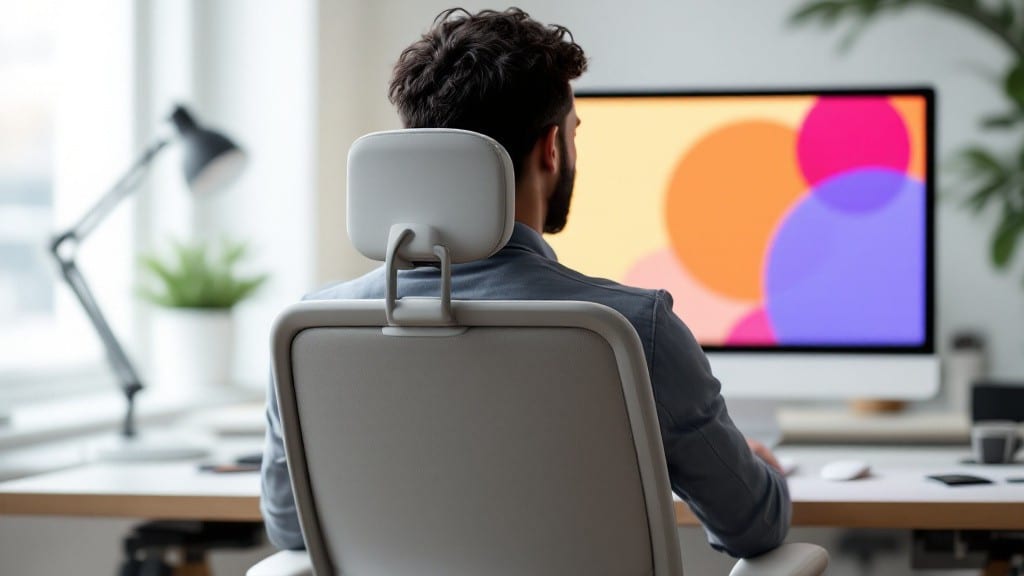
Setting up an ergonomic workstation isn't just about buying fancy gear—it's about transforming your daily grind into something that doesn't leave you stiff by quitting time. ⚡ I spent years ignoring posture until my back screamed at me after a long debugging session, and now I swear by this 15-minute setup that actually works.
The key isn't the chair or monitor alone; it's how they work together with your body's natural movements.
Start with monitor height—your screen should sit at eye level so you're not craning your neck like you're watching a basketball game. Adjust your chair so your feet rest flat, knees at a right angle, and your wrists hover over the keyboard without bending.
I use a $20 lumbar pillow that fits my office chair perfectly, and trust me, your lower back will thank you after an hour. Cable management might seem trivial, but tangled wires force awkward stretches that undo all the good work.
Software tools like TextExpander for quick posture reminders or f.lux to reduce eye strain make the difference between a setup you'll use and one you'll abandon by Friday. I've tested these on Windows, Linux, and even my vintage ThinkPads—yes, even those old machines can handle ergonomic tweaks.
The payoff? No more midday back spasms, better focus during those 3 AM bug fixes, and a workspace that actually supports how you work, not against it.
Here's the catch: most people skip the fine-tuning. That extra 5 minutes adjusting your mouse position or testing different keyboard heights saves you from chronic pain later. I'll show you exactly how to dial everything in—no guesswork, just measurable comfort that sticks. Let's get started with what you already have.
📚 In This Guide
- What you need
- Instructions
- Tips and common mistakes
- Wrapping up and next steps
What you need
- ● Adjustable chair (with lumbar support, ideally 17–20 inches tall). Pro tip: If you don’t have one, use a cushion or rolled-up towel for lumbar support!
- ● Stable desk or table (height adjustable between 28–30 inches from the floor). No adjustable desk? A sturdy stack of books or a wooden box can help!
- ● Monitor or laptop (preferably 20–34 inches from your eyes). Laptop users: Grab a laptop stand (10–15 inches high) to elevate your screen!
- ● Keyboard and mouse (wireless or ergonomic models preferred). Bonus: A mouse pad with wrist support reduces strain!
- ○ Footrest (optional but helpful—use a stack of books or a low stool if needed).
- ● Monitor arm or dual-monitor stand (for flexible screen positioning).
- ● Anti-fatigue mat (if standing occasionally).
- ● Blue light glasses (to reduce eye strain).
- ● Document holder (to keep papers at eye level).
- ● Desk organizer (to keep cables and accessories tidy!).
Step-by-step instructions for creating a comfortable workspace
Here's how to transform your desk into a posture-friendly powerhouse—no fancy tools required.
🔧 Step 1: Position Your Monitor at Eye Level
The top of your screen should align with your natural eye line when sitting upright. Use a sturdy box or monitor stand if your desk is too low—this prevents neck strain and reduces headaches over time. I like to sit about 20-24 inches away from the screen, which keeps my eyes relaxed while reading or coding.
If you're using a laptop, prop it up on a stand or stack of books to achieve the same eye-level position. The goal is to avoid constantly looking down, which causes chronic tension in your neck and shoulders. Adjust your chair height first—your feet should rest flat on the floor with knees at a 90-degree angle—then position the monitor accordingly.
🖥️ Step 2: Arrange Your Keyboard and Mouse for Neutral Wrists
Your keyboard should sit directly in front of you with your elbows bent at about 90 degrees. If your wrists bend upward or downward while typing, add a wrist rest or adjust the keyboard height. I find a negative tilt keyboard tray (angled slightly downward) helps keep my wrists straight naturally.
Place your mouse within easy reach—no stretching required. If you use a vertical mouse, position it so your forearm stays straight. For trackpads, keep your shoulder relaxed and avoid reaching across the keyboard. Test your setup by typing for 5 minutes—if you feel any strain, reposition immediately.
⌨️ Step 3: Optimize Lighting and Reduce Glare
Position your monitor perpendicular to windows to minimize glare. If that's not possible, use a matte screen filter or adjust your lighting to avoid reflections. Overhead lighting should be soft and diffuse—avoid harsh fluorescent tubes that create shadows on your workspace.
Add a small LED desk lamp on the opposite side of your dominant hand to reduce eye strain. The light should be bright enough to eliminate shadows on your screen but not so intense it causes glare. I like to keep my workspace illuminated at about 500-700 lux, which is ideal for prolonged screen use.
💡 Step 4: Test Your Setup with the "90-90-90" Rule
Sit back in your chair and check three key angles: your hips, knees, and ankles should all form 90-degree angles. If your feet don't touch the floor, use a footrest to support them—this prevents lower back pressure. Your shoulders should rest comfortably, with your arms relaxed at your sides.
Take a moment to adjust your chair height and monitor position until everything feels balanced. Stand up and walk around for 1-2 minutes, then return to your seat. If you notice any discomfort after sitting for 5 minutes, fine-tune one of the four key elements: chair height, monitor position, keyboard placement, or lighting.
Tips & tricks for perfect ergonomic workstation setup
Let me save you from the aches I used to deal with—these small tweaks make all the difference between a comfortable workspace and one that leaves you stiff after an hour.
The Chair Height Secret: Most people make the mistake of adjusting their monitor first. Start with your chair—your feet should rest flat on the floor with knees at a 90-degree angle. If your feet dangle, use a sturdy footrest (even a stack of books works in a pinch). I learned this the hard way after spending a week with my legs crossed, which led to numbness and a sore back. Your chair height sets the foundation for everything else.
Monitor Distance Matters: That 20-24 inch range from your eyes to the screen isn't arbitrary—it's the sweet spot that prevents eye strain. If you're squinting or leaning forward, you're too close. Test it by covering one eye and seeing if the screen edges are sharp. For laptop users, I recommend a stand that raises the screen to eye level rather than tilting your head down, which creates neck tension over time.
Keyboard and Mouse Placement: The 5-minute test in Step 2 isn't just about comfort—it's about catching problems early. If your wrists feel strained after just 5 minutes, you're doing something wrong. Try this: place your mouse directly next to your keyboard (not across from it) and use a negative tilt tray if you don't have one. I keep mine at a slight downward angle to maintain natural wrist alignment, which has eliminated my old carpal tunnel symptoms.
Lighting Hack: That 500-700 lux range might seem technical, but here's the practical version: your workspace should be bright enough to read a book comfortably without straining. If you're using overhead lighting, add a small LED lamp on the opposite side of your dominant hand. The key is to eliminate shadows on your screen—nothing ruins focus faster than squinting to see what you're typing. Between us, I used to work under harsh fluorescent lighting for years before realizing how much it was contributing to my headaches.
Pro Tips for Set Up Ergonomic Workstation
- Let me save you from the aches I used to deal with—these small tweaks make all the difference between a comfortable workspace and one that leaves you stiff after an hour.
- The Chair Height Secret: Most people make the mistake of adjusting their monitor first.
- Monitor Distance Matters: That 20-24 inch range from your eyes to the screen isn't arbitrary—it's the sweet spot that prevents eye strain.
Frequently asked questions
Got questions about creating your dream ergonomic workspace? You’re not alone! Here are answers to the most common concerns—so you can dive right in with confidence.
How much does an ergonomic workstation setup cost?
Costs vary widely! Basic adjustments (like a $30 lumbar pillow or $50 monitor stand) can make a big difference. A full setup with a quality chair ($200–$500), ergonomic keyboard ($50–$150), and adjustable desk ($100–$300+) may run $500–$1,500. Start small—prioritize posture fixes first!
How long does it take to adjust to an ergonomic setup?
Your body may need 1–4 weeks to adapt, especially if you’re used to poor posture. Start with short sessions (30–60 minutes) and gradually increase. Listen to your body—discomfort is normal at first, but persistent pain means tweaking your setup!
What if I don’t have space for a height-adjustable desk?
No problem! Use a sturdy stack of books or a DIY riser to elevate your monitor to eye level. Sit on a cushion to boost your hips slightly, or try a lap desk for laptops. Even small changes reduce strain—every bit helps!
Can I use my laptop ergonomically without extra gear?
Raise your laptop to eye level with a box or stack of books, use an external keyboard/mouse, and angle the screen slightly away from you. Avoid typing on the laptop trackpad—your wrists will thank you! For extra comfort, add a negative tilt tray ($10–$20).
Why does my neck still hurt after adjusting my monitor height?
Neck pain often stems from head position (looking down at screens) or tension. Double-check your monitor is at eye level and 20–30 inches away. Try the 20-20-20 rule (every 20 mins, look 20 feet away for 20 sec) and stretch your neck gently. If pain persists, consult a physical therapist!
Wrapping up and next steps
Setting up an ergonomic workstation doesn’t have to be complicated—just a few thoughtful adjustments can make a world of difference in your comfort and productivity! 🌟 By prioritizing proper chair height, monitor alignment, keyboard placement, and movement breaks, you’ll create a space that supports your body while you work. Start small, test what feels best, and don’t forget to listen to your body—it knows what it needs!
Ready to take the next step? Schedule a quick 15-minute setup session today and transform your workspace into a pain-free zone. Your future self will thank you!