
Tip & Trick
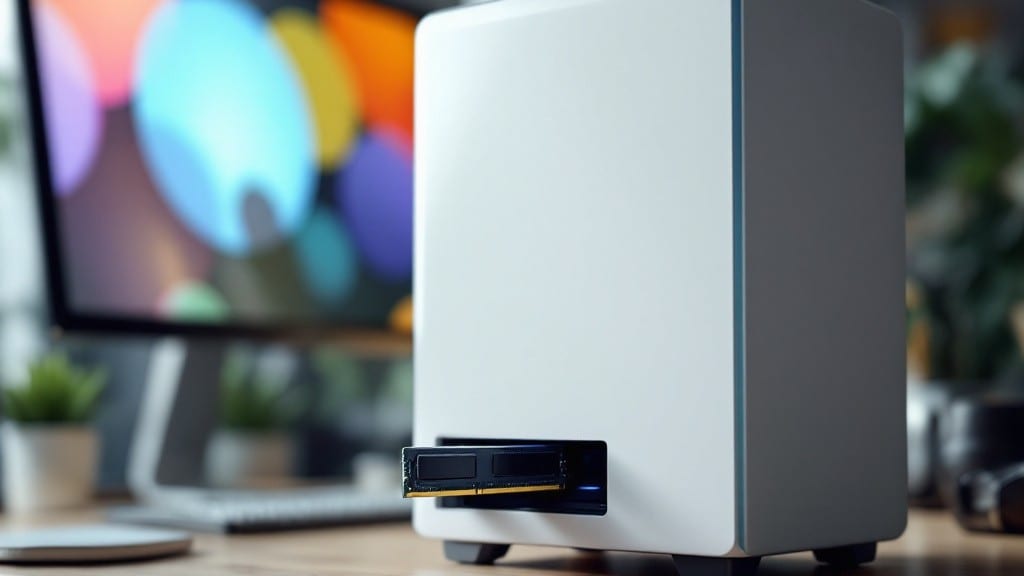
Installing RAM in your desktop PC doesn’t need to be intimidating—especially when you skip the tools and focus on the right steps. ✨ I’ve upgraded dozens of systems, and the key is patience: no force, just gentle pressure until you hear that satisfying click.
The trickiest part isn’t the RAM itself—it’s making sure your motherboard supports it before you even open the case.
You’ll need just two things: the RAM modules you bought (check for matching speeds and type first) and an anti-static wrist strap—or even touching the case while grounded works. My dad used to say, “Static kills more upgrades than bad tools,” and he was right.
Most modern RAM snaps into place without screws, so no tools are required beyond what’s in your hand.
Once seated, your system should recognize the new RAM immediately—if not, a BIOS reset or re-seating the modules usually fixes it. I’ve seen beginners spend hours troubleshooting when all they needed was to press down firmly on both ends of the module until it locks.
The difference between a smooth upgrade and a frustrating one is often just that extra second of pressure.
This method works for any desktop with open RAM slots, from budget builds to high-end rigs. The only real mistake is mixing incompatible RAM types, so double-check your motherboard’s manual before buying. Now let’s get those sticks installed—your PC’s performance will thank you.
📚 In This Guide
- What you need
- Instructions
- Tips and common mistakes
- Wrapping up and next steps
What you need
- ● RAM Module(s): Ensure compatibility with your motherboard (check specs like DDR4/DDR5, speed (MHz), and capacity (GB)). Quantity depends on your upgrade goal (e.g., 1x 16GB or 2x 8GB).
- ○ Anti-static wrist strap (optional but recommended): Prevents static electricity from damaging components (or use an anti-static mat).
- ○ Phillips-head screwdriver (optional): Only needed if your RAM slots have a retention clip that requires loosening (most modern PCs don’t).
- ● User Manual for your Motherboard: A digital copy works! Helps identify RAM slot layout and compatibility.
- ○ Flashlight (optional): Brightens dark corners for better visibility.
- ● Power off your PC and unplug it from the wall. Safety first!
- ● Remove the side panel of your PC case (check your case’s manual if unsure how).
- ● Ground yourself by touching a metal part of the case (or wear your wrist strap) to avoid static shocks.
Step-by-Step instructions for Installing RAM in a desktop PC
Here's how to upgrade your memory without tools, stress, or static discharge worries.
🔧 Step 1: Power Down and Prepare the System
Shut down your computer completely and unplug the power cable from the back. I always hold the power button for 5-10 seconds afterward to discharge any residual energy in the motherboard—this prevents static electricity from damaging sensitive components. Lay your case on a clean, flat surface with the side panel off.
Ground yourself by touching the metal chassis before handling any components. This ensures any static electricity you might carry safely dissipates into the case instead of your RAM modules. If you're working on carpet, consider using an anti-static wrist strap or even touching the case repeatedly to stay grounded.
🖥️ Step 2: Locate and Remove Existing RAM (If Needed)
Open the case and locate your motherboard's RAM slots—these are the long, narrow slots near the CPU, usually covered by existing modules. If you're replacing RAM, gently press the clips on either side of the existing modules inward until they pop up, then lift the modules straight out. Don't wiggle them side-to-side; the connectors are delicate.
Set the old modules aside in a static-safe location. I like to place them on top of the case or a non-static surface like cardboard. If you're adding RAM rather than replacing, you can skip this step entirely—just move to the next one.
💻 Step 3: Align and Insert the New RAM Modules
Look closely at the RAM slots—you'll notice a small notch on one end of each slot and a corresponding notch on the bottom of your new RAM modules. Align these notches perfectly before inserting. The modules should only fit one way; if they don't slide in smoothly, you've got them oriented wrong.
Once aligned, press firmly and evenly down on both ends of the module until you hear a satisfying click and feel the clips snap into place. Don't use excessive force—if it doesn't go in smoothly, stop and recheck the alignment. The clips should pop up automatically when you press down correctly.
⌨️ Step 4: Secure and Verify Installation
After inserting the RAM, give the modules a gentle wiggle test—just a slight side-to-side motion—to ensure they're seated firmly. They shouldn't move more than a millimeter or two. If they do, remove and reinsert them, making sure the clips are fully engaged on both sides.
Reattach the side panel of your case, reconnect the power cable, and power on your system. You should hear a single beep from the motherboard (indicating successful POST) or see the RAM capacity displayed during boot. If you don't, power off immediately, reseat the RAM, and try again.
💡 Step 5: Confirm System Recognition and Optimization
Once Windows loads, open Task Manager by pressing Ctrl + Shift + Esc, then navigate to the Performance tab. Under Memory, verify that your system recognizes the new capacity. If you installed 16GB total, it should show 16.0GB (Windows typically reports usable memory slightly lower than installed).
For best performance, enter your motherboard's BIOS (usually by pressing Delete or F2 during boot) and ensure the RAM is running at its specified speed. Look for the XMP or DOCP profile and enable it if available. Save changes and exit—your system should now boot with optimized RAM performance.
Tips & tricks for stress-free RAM installation
Between us, I've installed RAM in more PCs than I can count—some went perfectly, others ended with me staring at a blank screen wondering where I went wrong. Here's what I've learned to make your upgrade smoother than butter.
The 5-10 Second Reset: That power button hold in Step 1 isn't just for show—it's your insurance policy against static damage. I learned this the hard way when a static zap fried a $200 motherboard. If you're really worried, use a screwdriver to touch the case metal before handling anything. The screwdriver acts like a lightning rod for any static you might be carrying.
Notch Alignment Secret: In Step 3, when aligning those RAM modules, don't just glance at the notches—really look. The slot notch and module notch should match perfectly. If you're still having trouble, try inserting the module at a slight angle (notch still aligned) and then press down gently. The clips will guide it into place. I've seen people force modules in wrong because they thought they were aligned when they weren't.
Wiggle Test Technique: That gentle wiggle in Step 4 should feel like you're testing a perfectly balanced seesaw—not like you're trying to loosen a stuck bolt. If your modules move more than a millimeter, you haven't seated them properly. Here's a pro move: After the wiggle test, give the sides of the modules a firm but gentle squeeze. This ensures the clips are fully engaged on both ends without damaging the modules.
BIOS Optimization Insight: When you're in BIOS looking for XMP/DOCP in Step 5, don't just enable the first profile you see. Check your RAM's specifications first—some modules need specific profiles for stability. If your system boots but runs slowly, you might need to manually set the correct speed. I keep a sticky note with my RAM specs on my monitor during this step to avoid mistakes.
Pro Tips for Install Ram In A Desktop Pc
- Between us, I've installed RAM in more PCs than I can count—some went perfectly, others ended with me staring at a blank screen wondering where I went wrong.
- The 5-10 Second Reset: That power button hold in Step 1 isn't just for show—it's your insurance policy against static damage.
- Notch Alignment Secret: In Step 3, when aligning those RAM modules, don't just glance at the notches—really look.
Frequently asked questions
Got questions about upgrading your RAM? You’re not alone! Here are answers to the most common concerns—so you can tackle your PC upgrade with confidence.
Do I need to turn off my PC before installing RAM?
Always power down your PC and unplug it before opening the case. Static electricity can damage RAM, and a live system risks short circuits. Safety first—wait until the power light is off and the fans are still.
Can I mix RAM kits from different brands or speeds?
Technically, yes, but not recommended. Mixing brands (e.g., Kingston + Corsair) or speeds (e.g., 3200MHz + 3600MHz) can cause instability or force your PC to run at the slowest speed. Stick to identical kits for best performance. Check your motherboard’s QVL (Qualified Vendor List) for compatibility.
How do I know if my RAM slots are properly seated?
Press firmly until the clips on each side click into place—no wiggle room! If it’s loose, reseat it. A good test: Gently tug the RAM stick; it should not move. Pro tip: Use a light finger—don’t force it!
What if my PC doesn’t recognize the new RAM after installation?
Start with these fixes:
- Reseat the RAM: Power off, open the case, and reinsert it firmly.
- Check BIOS: Restart and enter BIOS (usually Del or F2) to confirm the RAM is detected.
- Test one stick: Try booting with just the new RAM in Slot 1 or Slot 2 (check your motherboard manual for optimal pairing).
- Update drivers: If it’s detected but unstable, update your motherboard drivers via the manufacturer’s website.
Can I install RAM while my PC is running (e.g., hot-swap)?
Nope! RAM must be installed with the PC powered off. Unlike some laptops, desktops don’t support hot-swapping RAM—doing so risks frying your components. Always shut down, unplug, and ground yourself (touch the case) before touching RAM modules.
Do I need special tools to install RAM?
Not at all! RAM installation is tool-free—just your hands. You’ll need to:
- Open the case (usually 2-4 screws).
- Locate the RAM slots (vertical slots near the CPU).
- Press the clips to release the RAM (if any is installed).
Wrapping up and next steps
You’ve just taken a huge step toward boosting your PC’s performance—congrats! 🎉 Installing RAM doesn’t have to be intimidating, and now you’ve got the confidence to tackle it yourself.
With just a few clicks and a little patience, your system is ready for smoother multitasking, faster load times, and future-proofing.
Ready for more? Next up: Dive into optimizing your new RAM with Windows’ built-in performance tools or explore overclocking (safely!) to squeeze even more power out of your setup. Your tech journey’s just getting started—keep building!